
yeon's blog
[Spring MVC 1편] 2. 서블릿 - Hello 서블릿 본문
본 내용은 인프런 사이트에서
김영한 선생님의 "스프링 MVC 1편 - 백엔드 웹 개발 핵심 기술" 강의 내용을 정리한 것입니다.
🌱 Hello 서블릿
💡 스프링 부트 서블릿 환경 구성
@ServletComponentScan: 서블릿을 직접 등록해 사용할 수 있도록 해주는 어노테이션
ServletApplication.java 전체코드
package hello.servlet;

import org.springframework.boot.SpringApplication;
import org.springframework.boot.autoconfigure.SpringBootApplication;
import org.springframework.boot.web.servlet.ServletComponentScan;

@ServletComponentScan // 서블릿 자동 등록
@SpringBootApplication
public class ServletApplication {

	public static void main(String[] args) {
		SpringApplication.run(ServletApplication.class, args);
	}

}
💡 서블릿 등록하기
@WebServlet: 서블릿 어노테이션
- name: 서블릿 이름
- urlPatterns: URL 매핑
HTTP 요청을 통해 매핑된 URL이 호출되면 → 서블릿 컨테이너는 service 메서드를 실행한다.
HelloServlet.java 전체코드 (hello > servlet > basic)
package hello.servlet.basic;

import jakarta.servlet.ServletException;
import jakarta.servlet.annotation.WebServlet;
import jakarta.servlet.http.HttpServlet;
import jakarta.servlet.http.HttpServletRequest;
import jakarta.servlet.http.HttpServletResponse;

import java.io.IOException;

@WebServlet(name = "helloServlet", urlPatterns = "/hello")
public class HelloServlet extends HttpServlet {

    // servlet이 호출되면 → service 메서드가 호출됨
    @Override
    protected void service(HttpServletRequest req, HttpServletResponse resp) throws ServletException, IOException {

        System.out.println("HelloServlet.service");
        System.out.println("request = " + request);
        System.out.println("response = " + response);

    }

}
실행 결과 - 화면
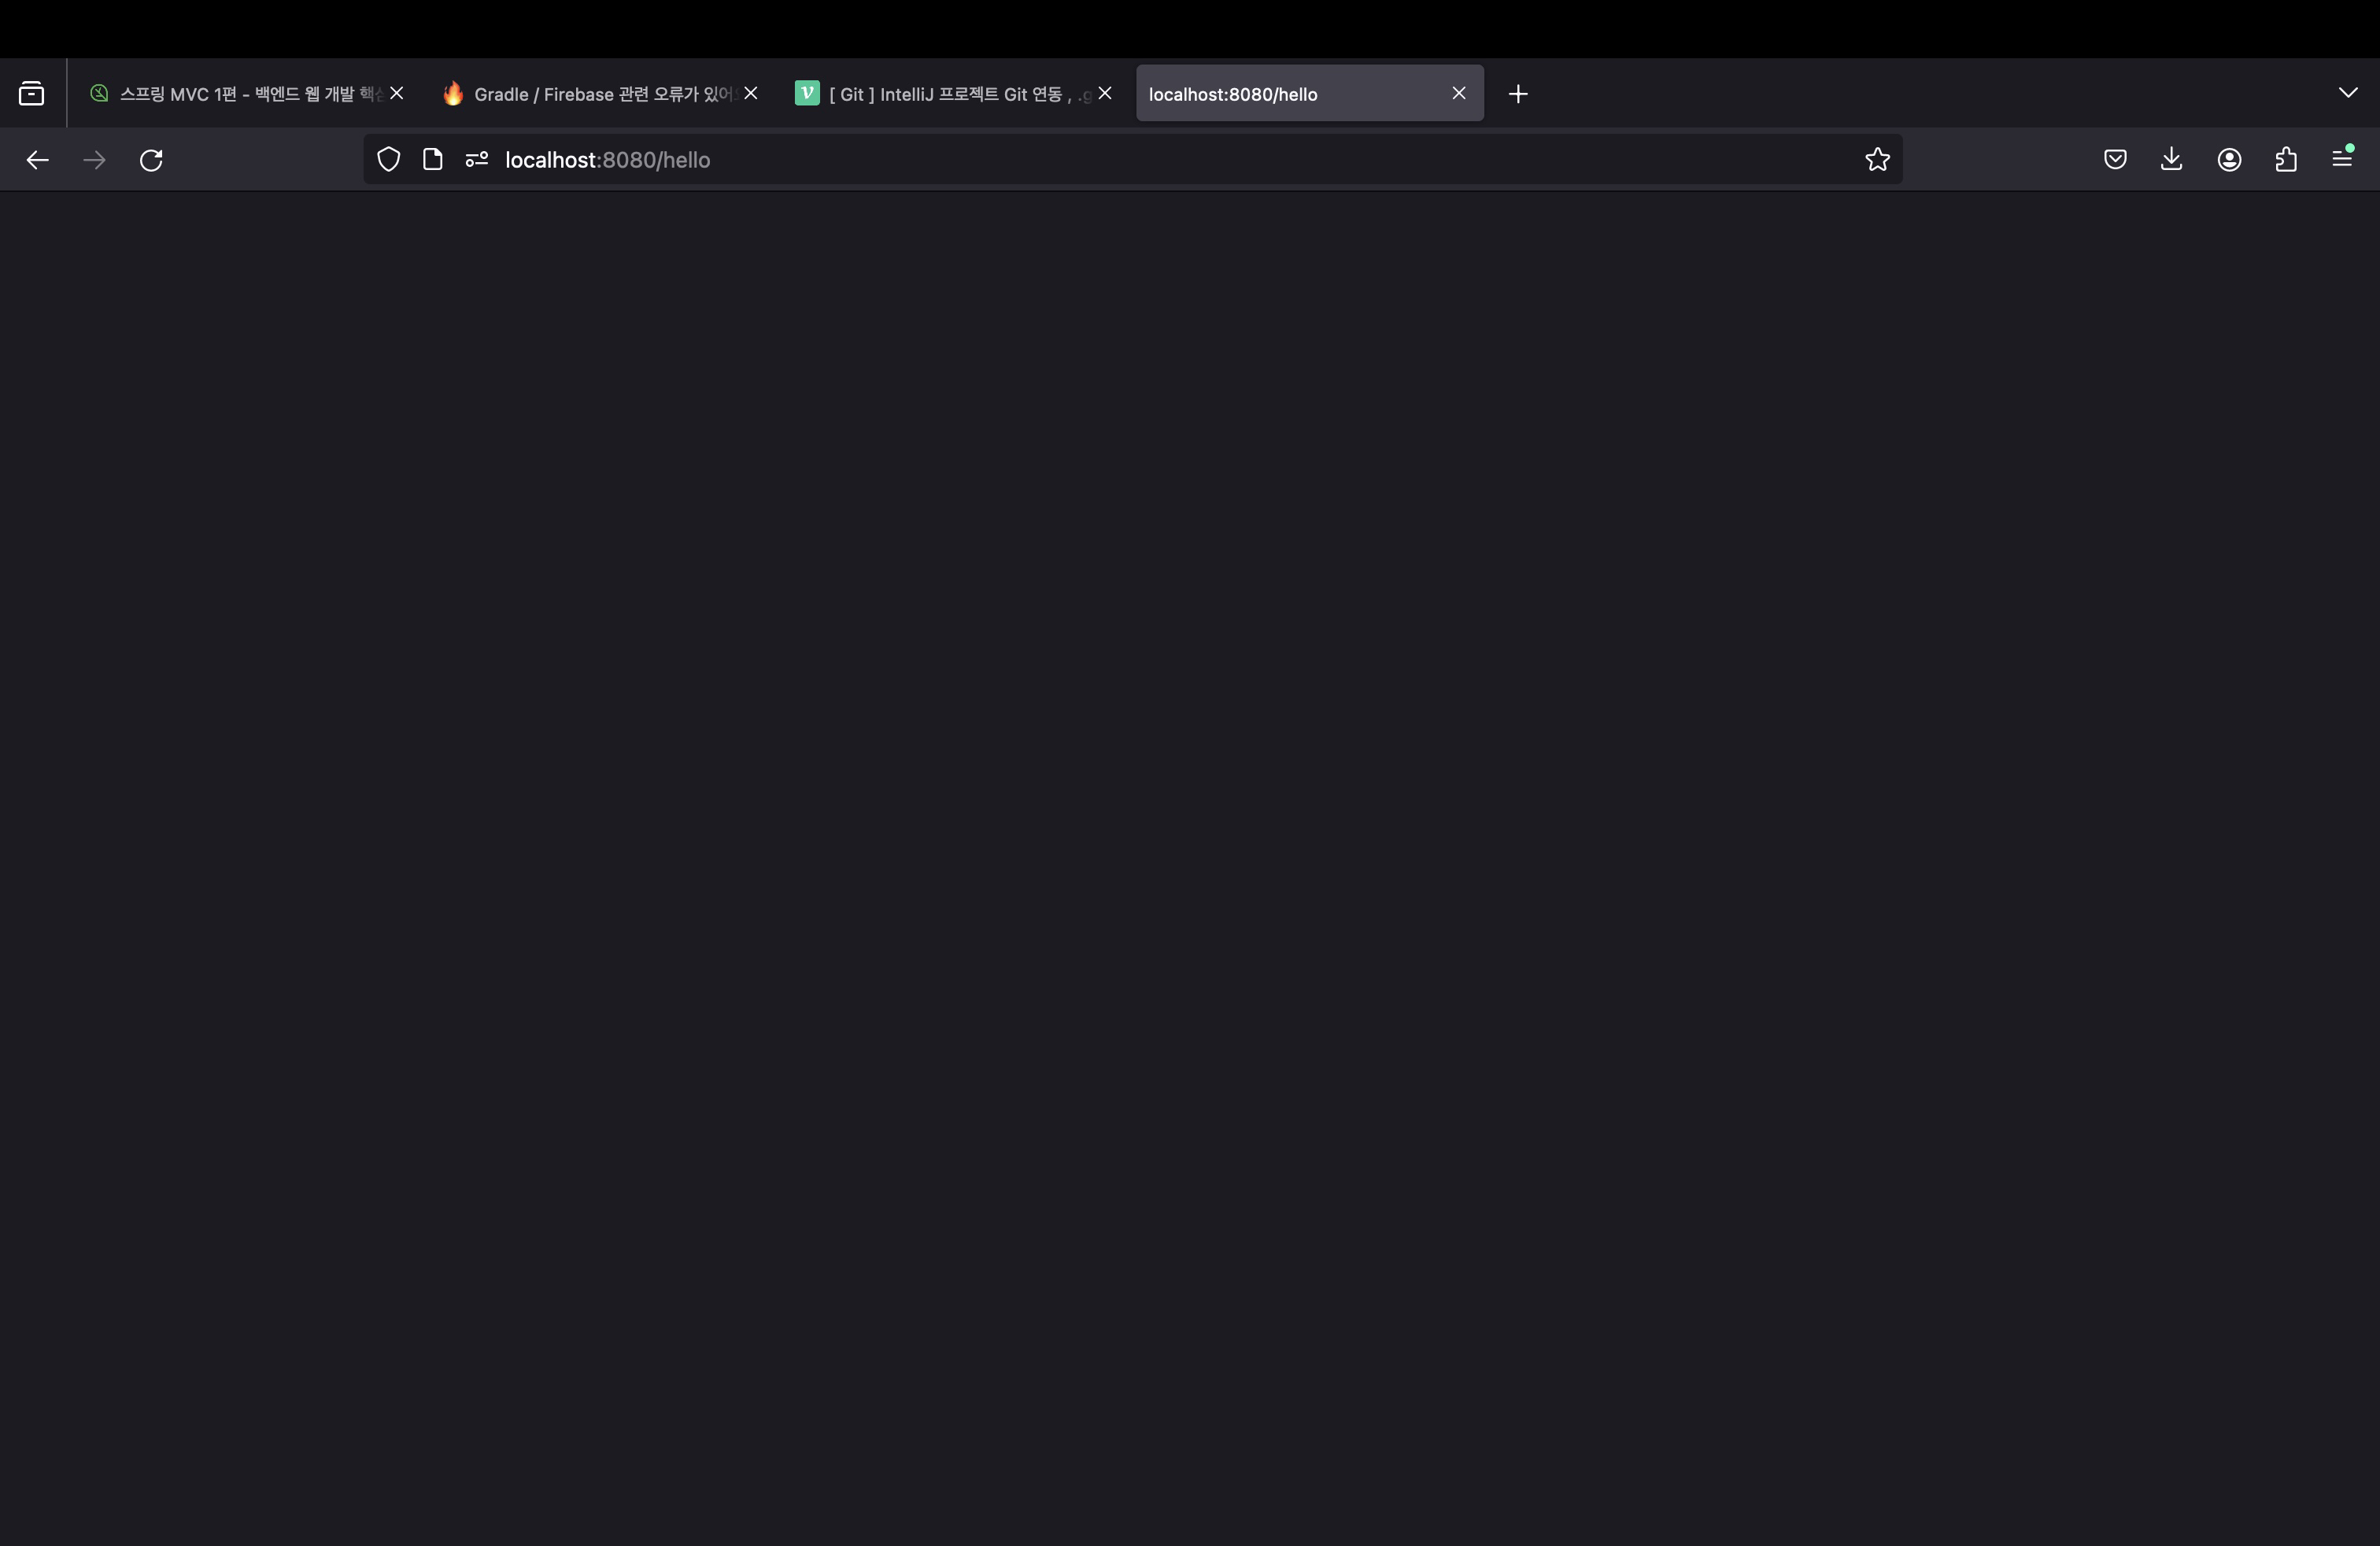
urlPatterns = "/hello" 이므로, port 번호 뒤에 /hello를 입력하고 호출해야 함!
Q: 빈 화면이 나오는 이유는?
당연한 결과. 아무것도 응답한 것이 없기 때문이다!
실행 결과 - 콘솔
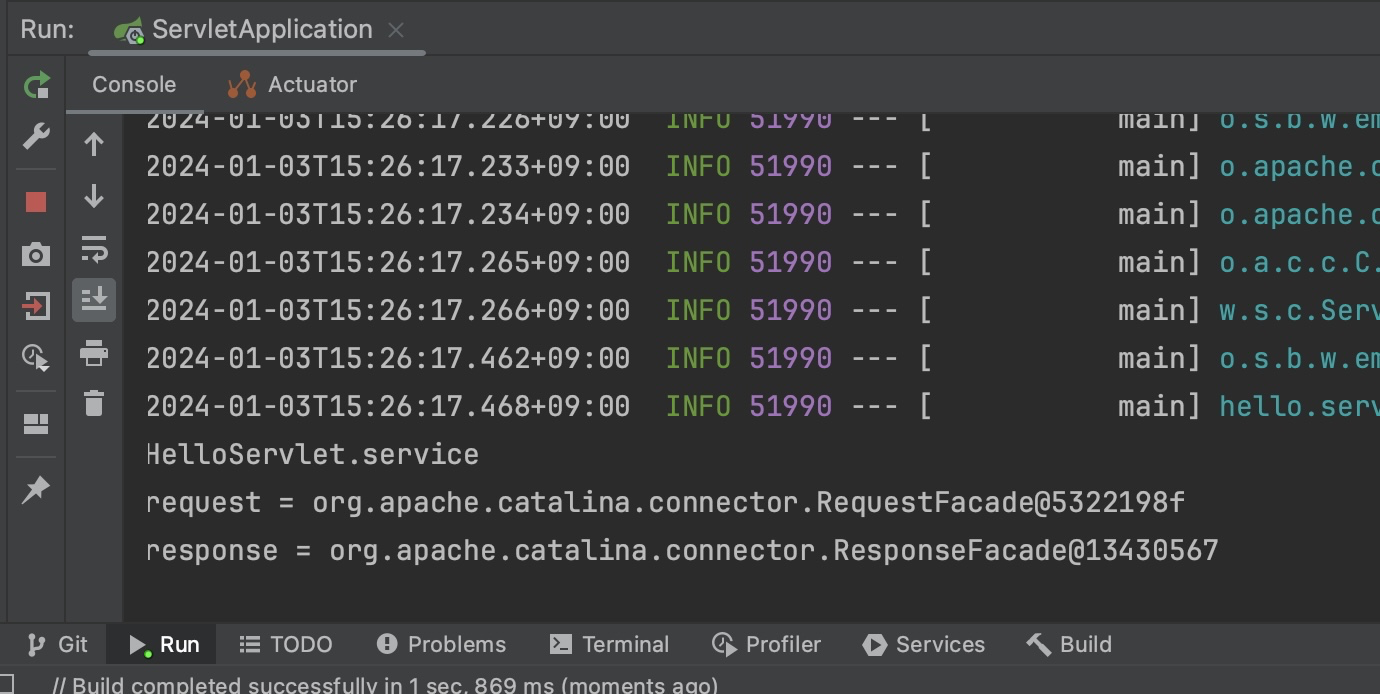
Q: request, response 값이 의미하는 것은?
WAS 서버들이 Servlet의 표준 스펙을 구현하는데, 그 구현한 구현체들을 의미한다.
HelloServlet.java 추가코드
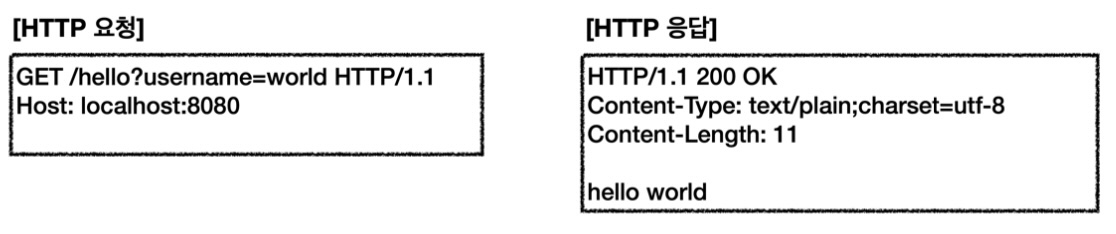
String username = request.getParameter("username");
System.out.println("username = " + username);

response.setContentType("text/plain");
response.setCharacterEncoding("utf-8");
response.getWriter().write("hello " + username);
실행 결과 - 화면
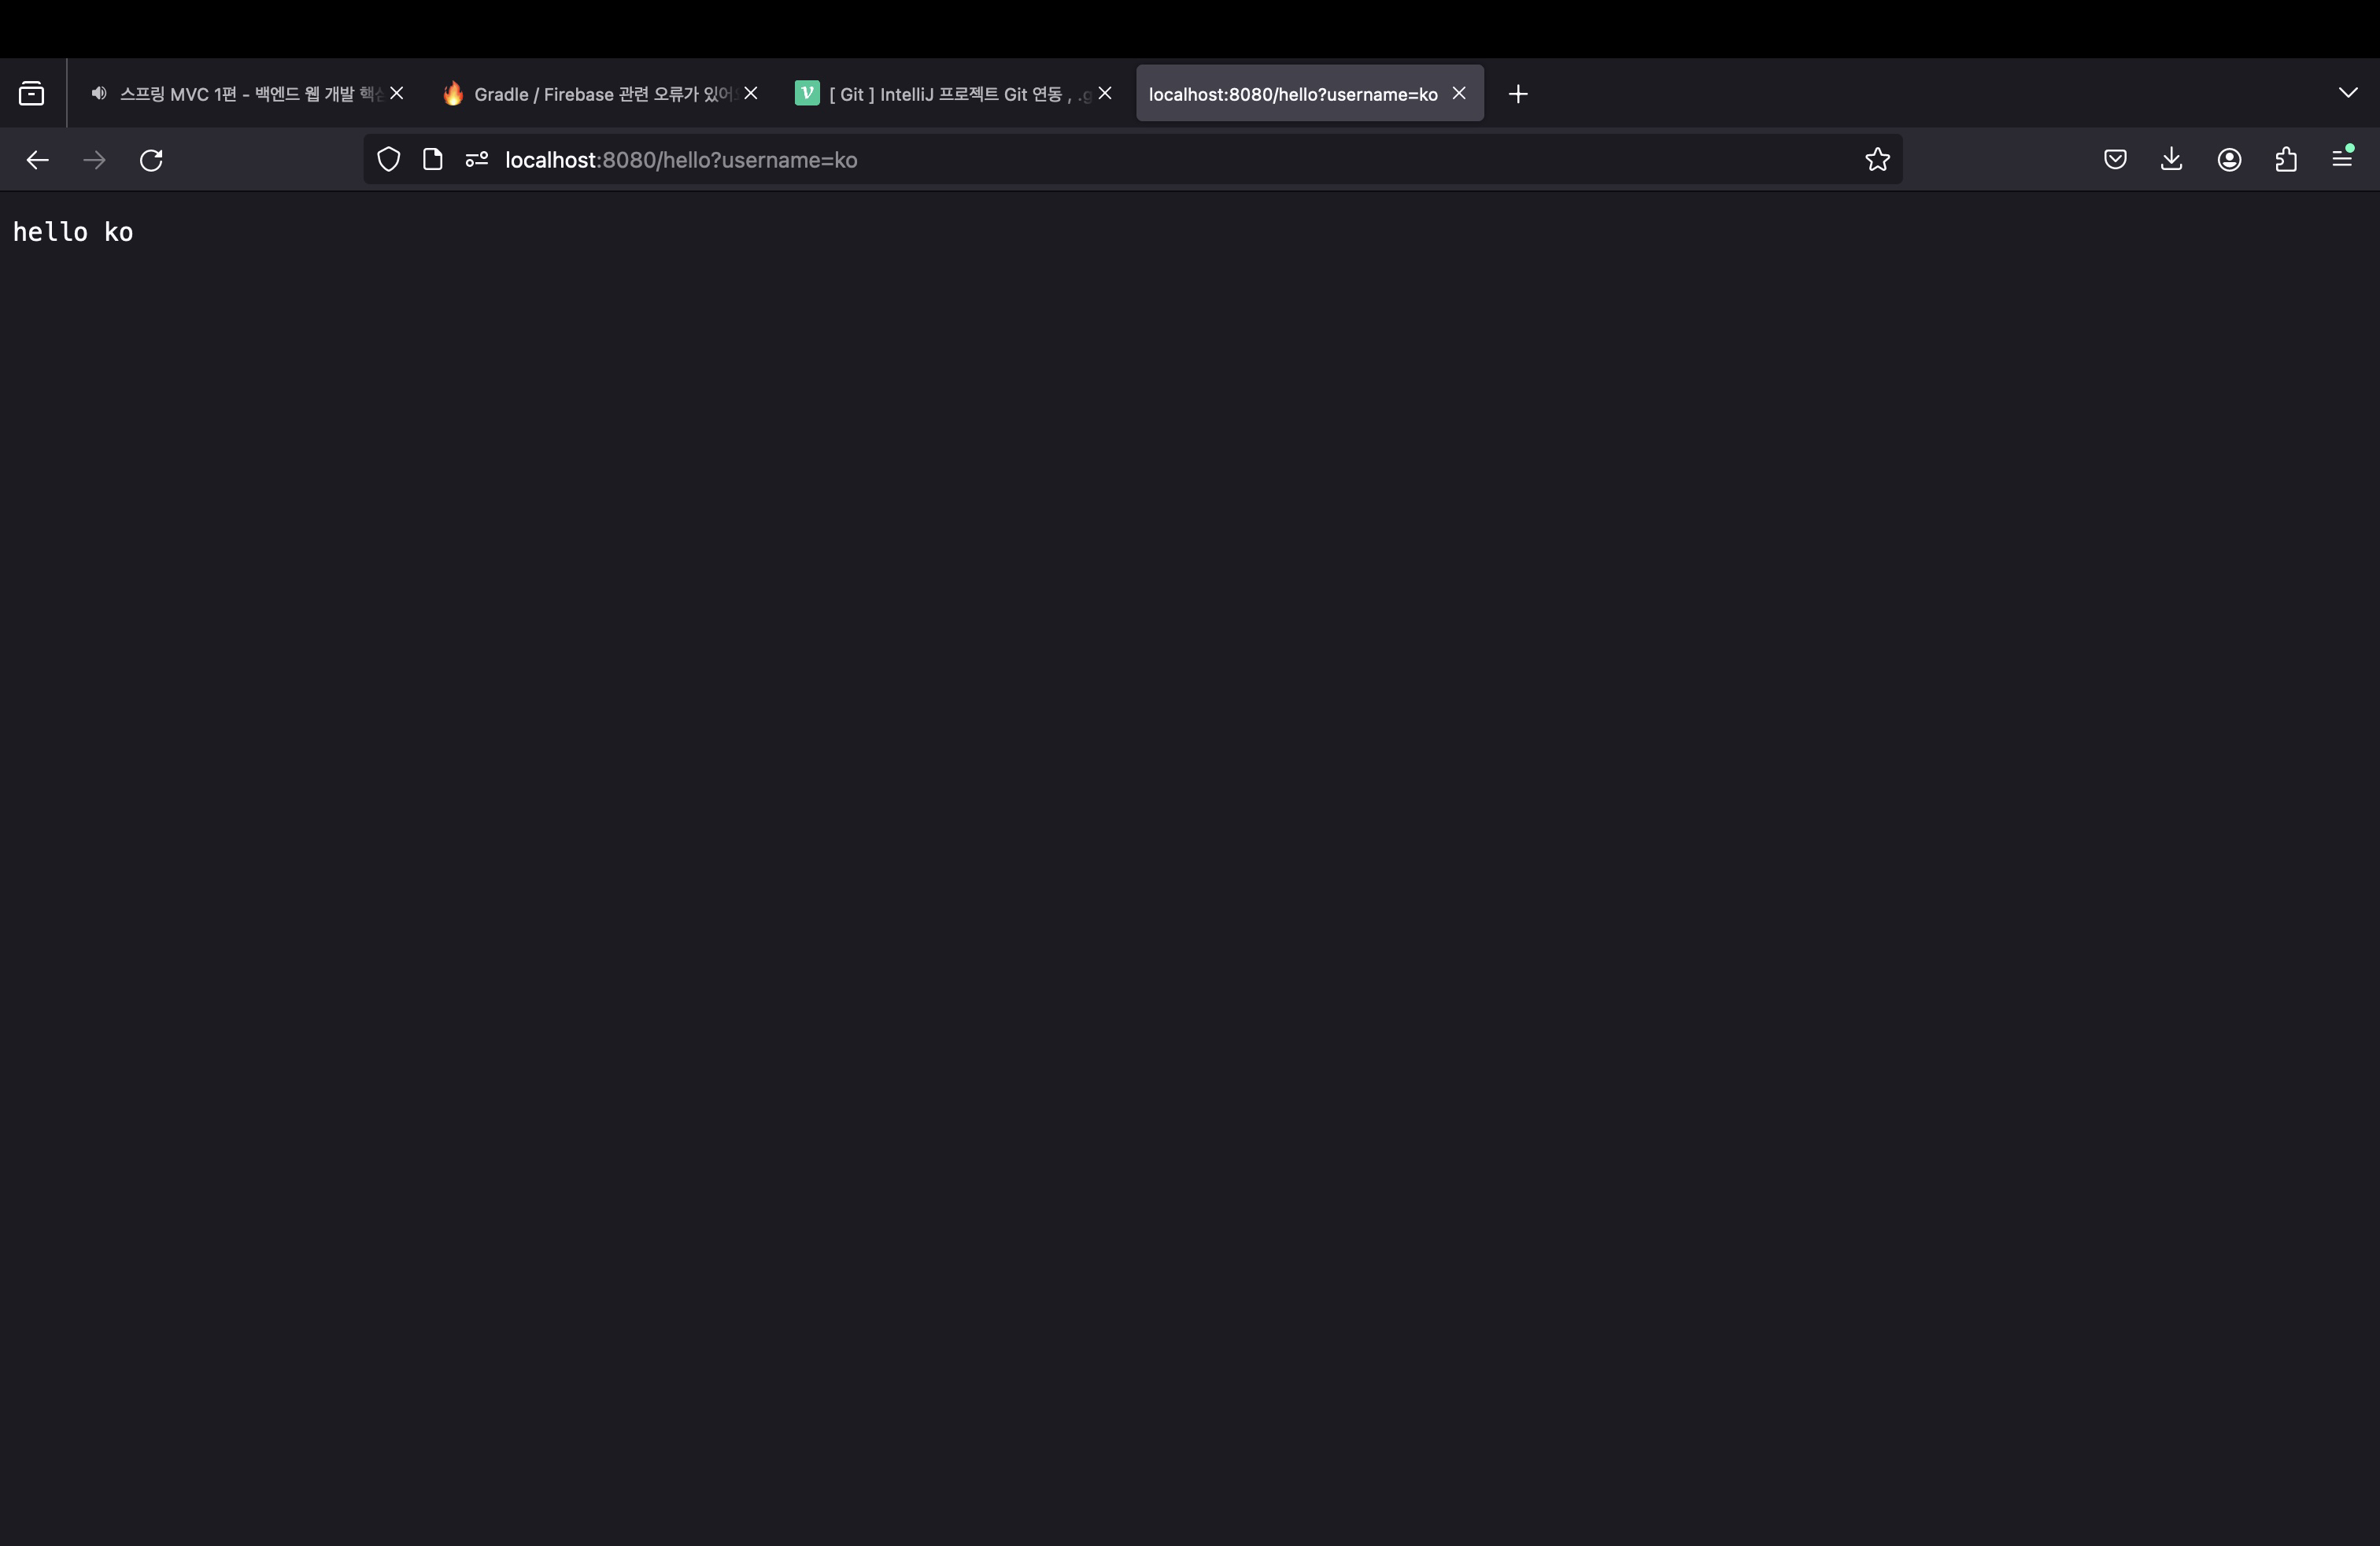
파라미터 "username"을 받을 것이므로, /hello 뒤에 ?username=ko를 입력하고 호출해야 함!
*username은 원하는대로~
request.getParameter("username)을 통해 username을 받아왔고 response에 "hello " + username 형태로 넣어주었으므로,
응답 화면에 hello ko 라는 문자가 뜨는 것이다.
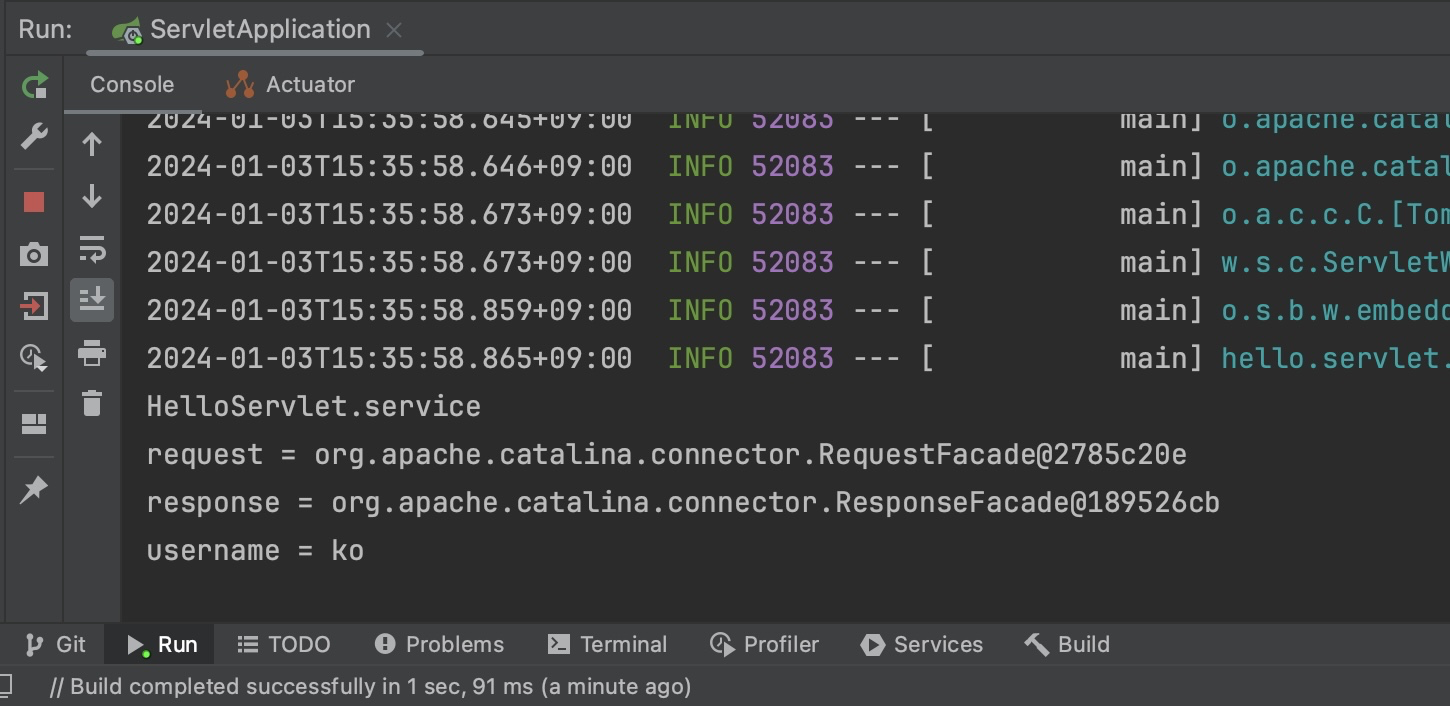
실행 결과 - 콘솔
💡 추가) HTTP 요청 메세지 로그로 확인하기
logging.level.org.apache.coyote.http11=debug
💡 서블릿 컨테이너 동작 방식 설명
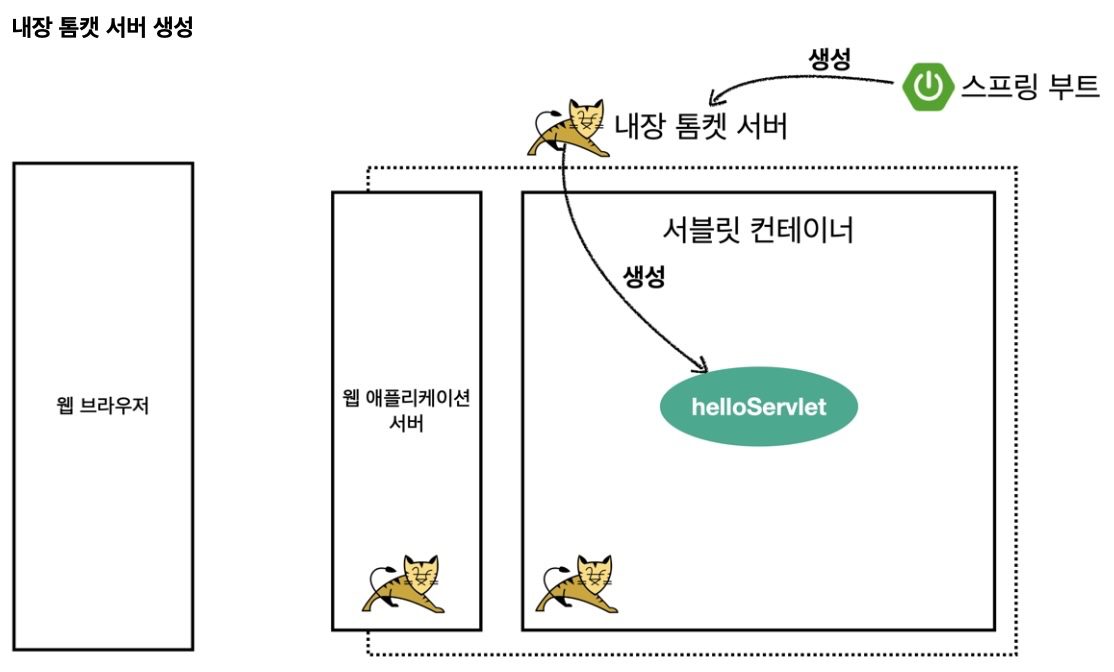
1. 스프링 부트가 내장 톰캣 서버를 실행한다.
2. 내장 톰캣 서버는 서블릿 컨테이너에서 helloServlet을 생성한다.
3. 웹 브라우저는 요청 메시지를 웹 어플리케이션 서버에 전송한다.
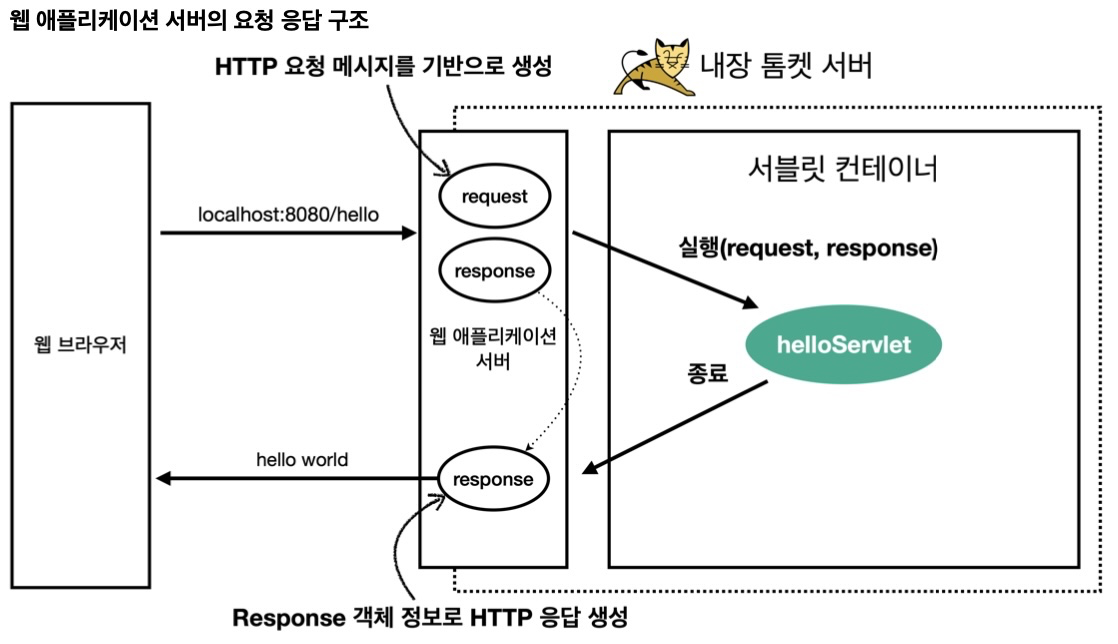
4. 웹 애플리케이션 서버는 HTTP 요청 메시지를 기반으로 request, response 객체를 만들고 helloServlet을 실행한다.
5. helloServlet에서는 response 객체를 변경한다.
6. 웹 애플리케이션 서버는 변경된 response 객체 정보로 HTTP 응답을 생성하여 웹 브라우저에 전송한다.
*참고!
HTTP 응답에서 Content-Length는 웹 애플리케이션 서버가 자동으로 생성해준다.
'Spring > Spring MVC' 카테고리의 다른 글
| [Spring MVC 1편] 2. 서블릿 - HTTP 요청 데이터 (0) | 2024.01.05 |
|---|---|
| [Spring MVC 1편] 2. 서블릿 - HttpServletRequest (2) | 2024.01.05 |
| [Spring MVC 1편] 2. 서블릿 - 프로젝트 생성 (0) | 2024.01.04 |
| [Spring MVC 1편] 1. 웹 애플리케이션 이해 - HTML, HTTP API, CSR, SSR (1) | 2024.01.01 |
| [Spring MVC 1편] 1. 웹 애플리케이션 이해 - 동시 요청 (멀티 쓰레드) (2) | 2024.01.01 |


